Among other things, I like cars and woodblock prints. Last year I took a photo at a classic car event that I liked the concept of but it was technically poor.
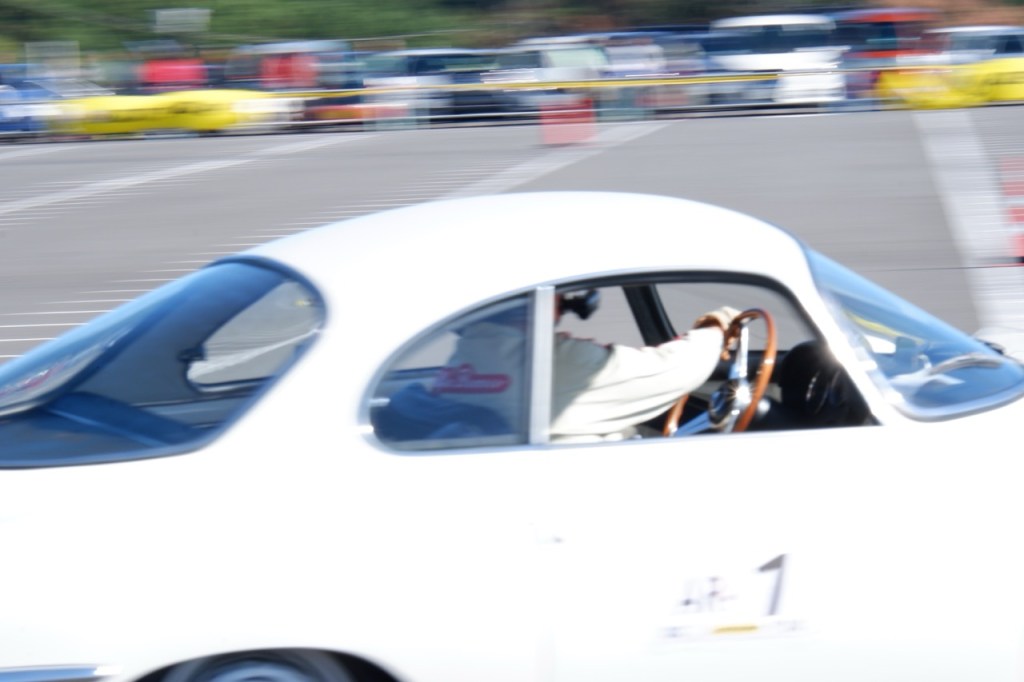
A gorgeous 1960s Alfa Romeo Giulietta Sprint Speciale. Hmm, could I take that concept and make a woodblock print instead? 🤔 Sounds like a fun challenge. Here’s the start of that journey…
Step 1: Prepare the image
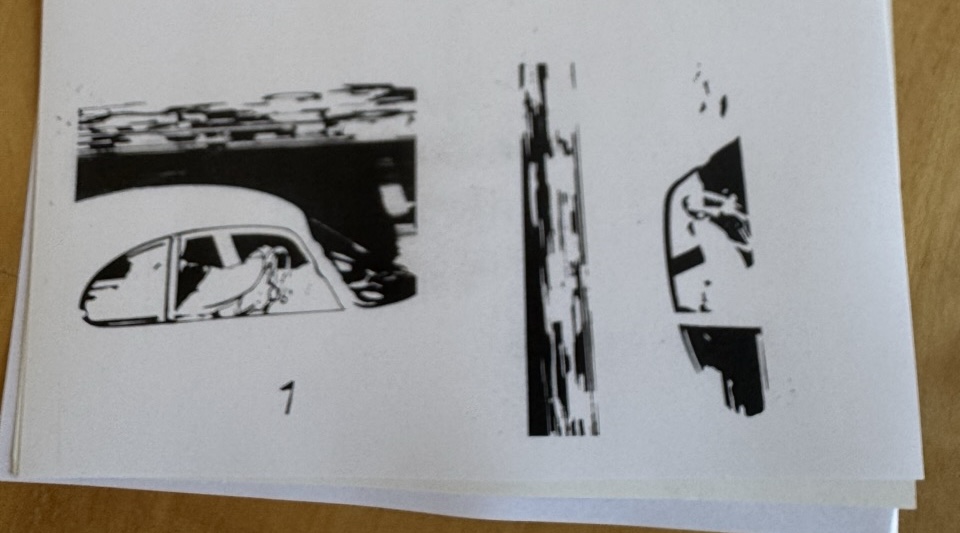
The image needs to be simple for carving into wood so I thought I could increase contrast, decrease saturation, sharpen it, etc. to simplify it, but it just made it worse. Then I reduced the number of colours dramatically to 3 or 4 and bingo! That’ll do.

Step 2: Transfer the image onto wood
This whole step was much longer than I thought, as you’ll see.
Apparently toner from a laser printer or copier is best so I got several copies made at a convenience store. Then I brushed PVA glue onto the wood, stuck the paper on it and tried to rub it off to leave behind just the print. Easy! 🤣
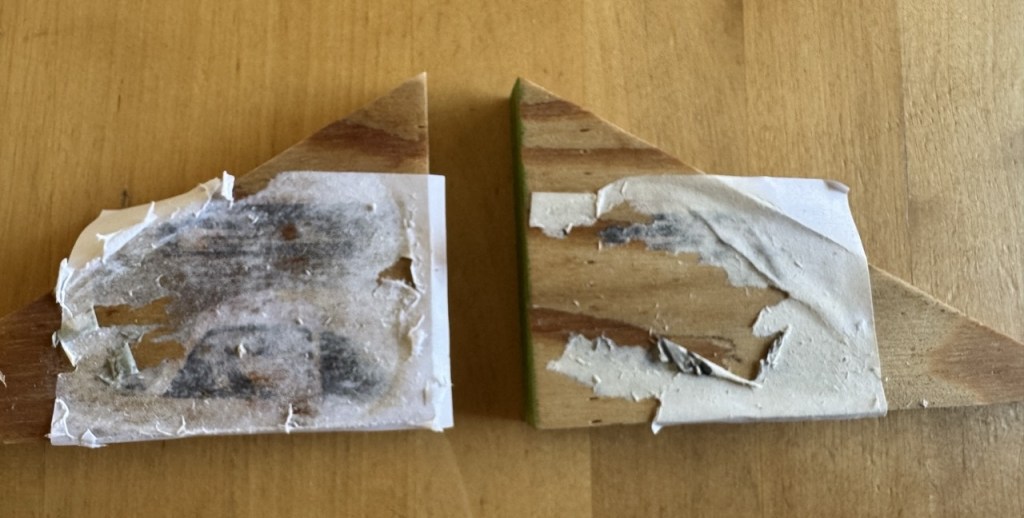
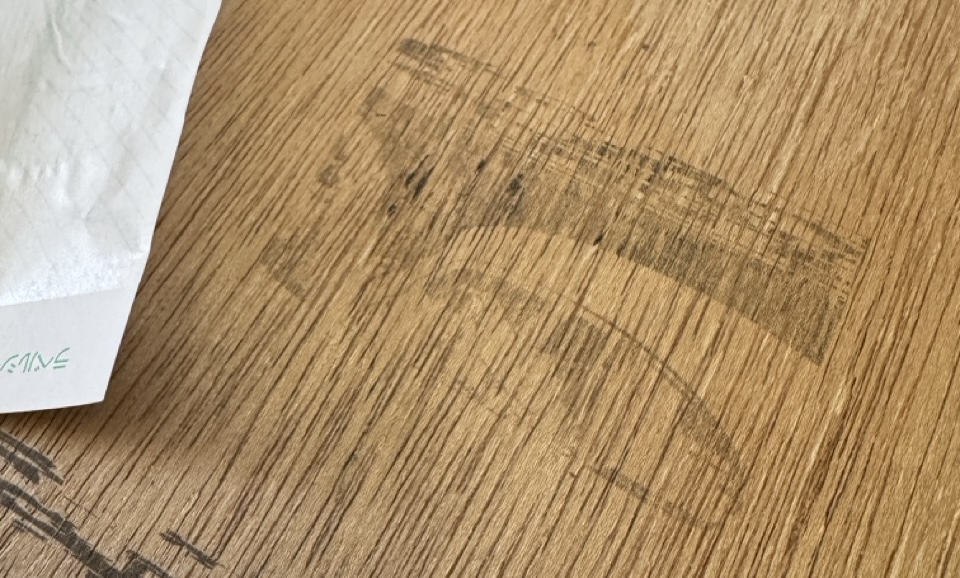
OK, let’s try something milder – maybe water-based wood varnish instead of glue?
Well, it’s a bit better but both the paper and ink came off quite easily. Plus the lighter colours were really hard to see on the wood so I should probably separate them into individual black parts first. Back to the computer…
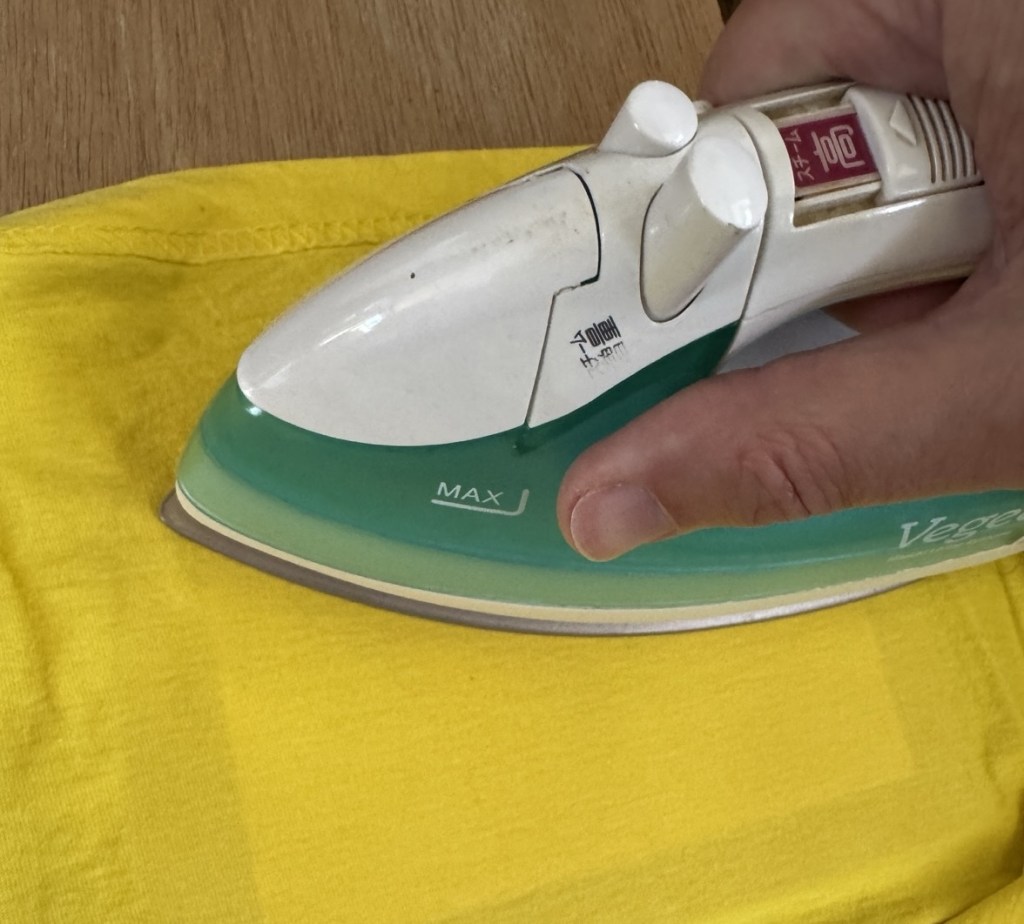
The internet said I can use heat to simply transfer the ink onto wood instead of messy glue, so I tried ironing the back of the paper.
The internet lied.
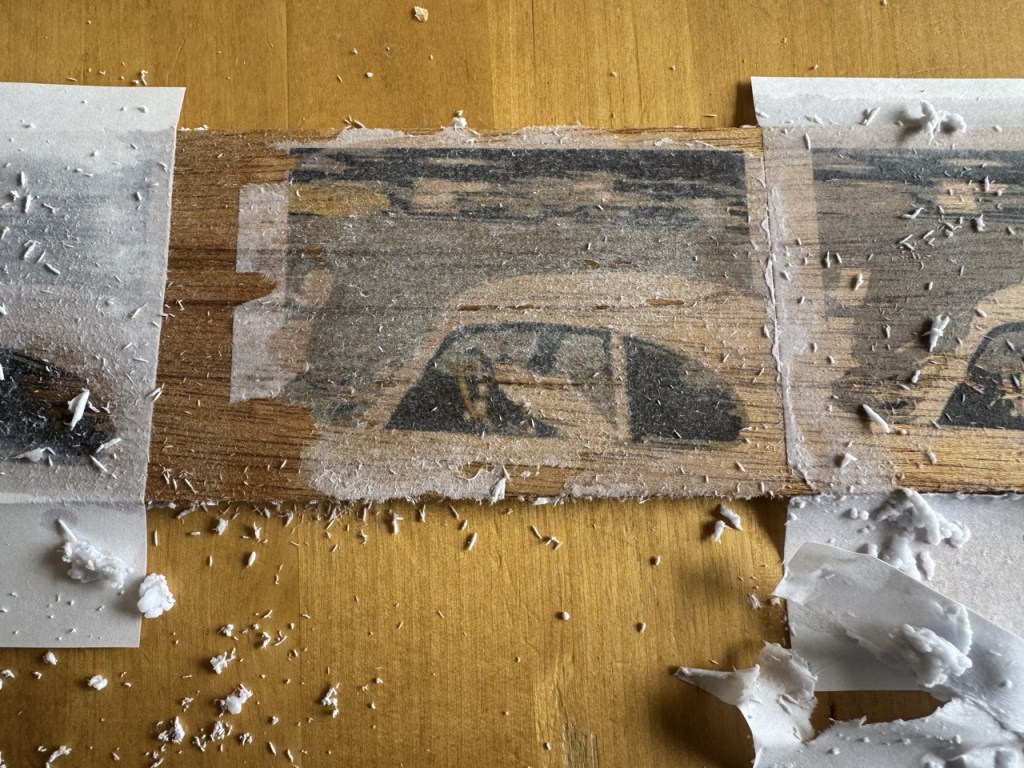
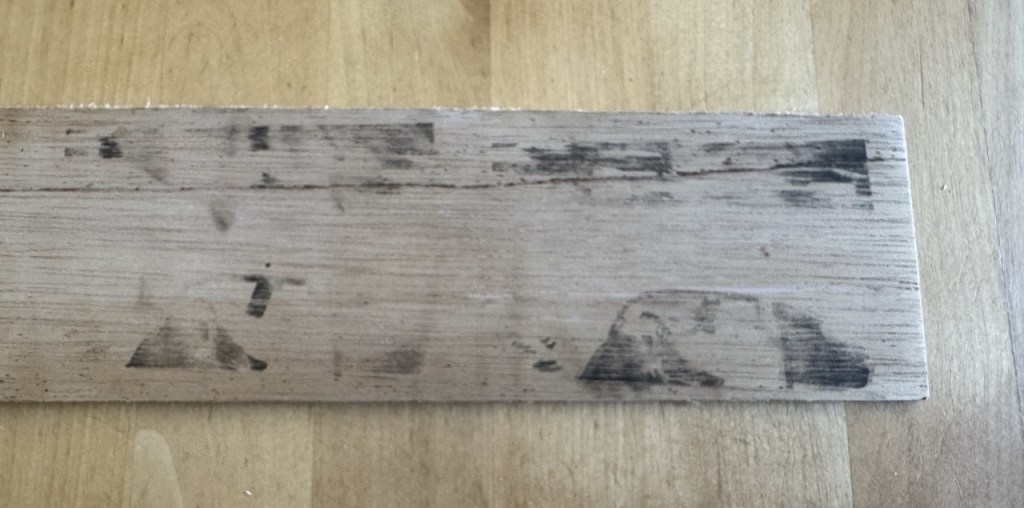
Back to glue (the gentle kind you find in post offices here), leaving it to dry thoroughly, then carefully rubbing the paper with a soft wet toothbrush.

This is the best so far, partly because of the stronger contrast in the image but mainly because it’s a Hawaiian Airlines toothbrush. 😎
However, later that evening I found a local brand that makes inkjet paper specifically for transferring to wood. It uses some kind of white powder which is sprinkled over the printed image, then when heat is applied the ink effectively melts onto the wood. Does it work?

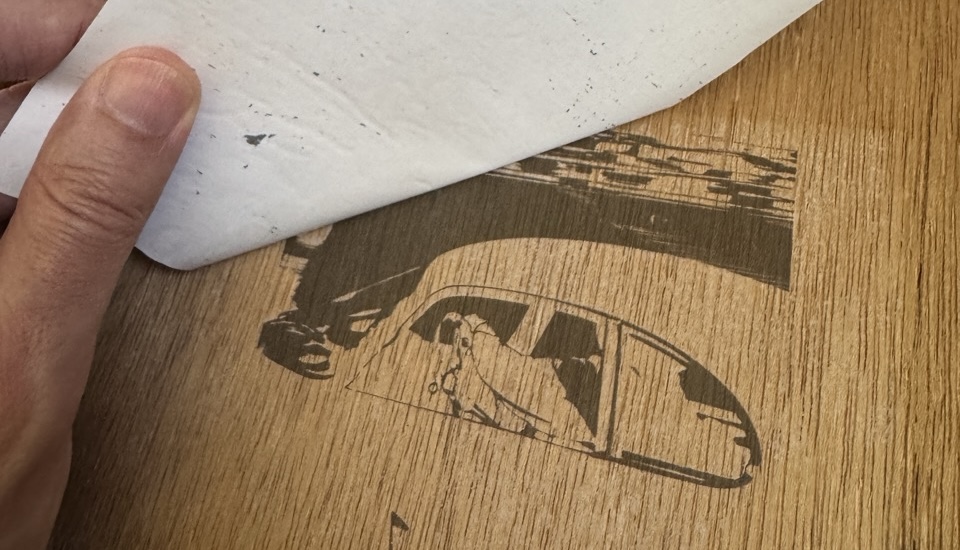
Yes! Although a small bit of ink didn’t stick, it was straightforward and certainly the clearest image yet. Good enough for carving.
Finally a friend at work suggested printing onto some kind of waxy paper, then pressing that onto the wood before it dries. I had some semi-used label paper so I removed all the labels and printed onto that.
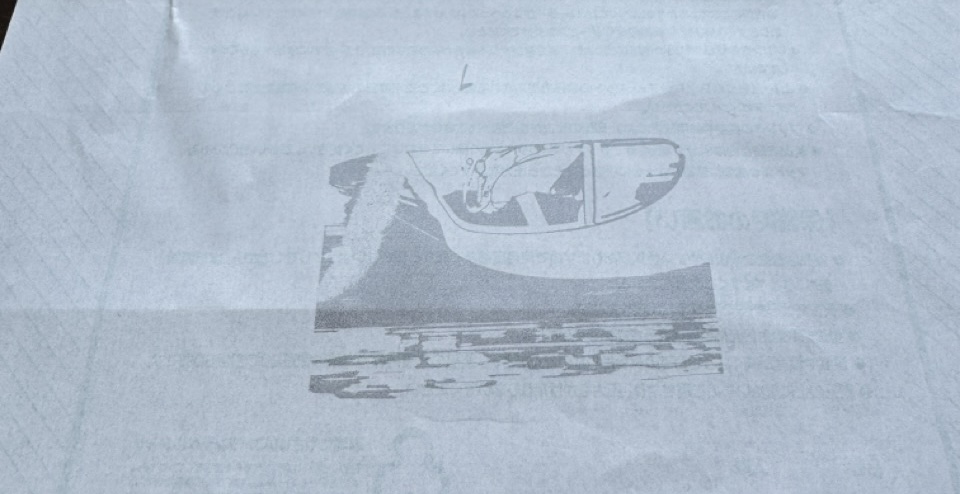
The image was pretty pale but even so, after putting it printed-surface-down on the wood and applying heat, it was surprisingly good.
Not as clear as the specialist paper and powder but good enough. If you want something quick and easy, this is a good compromise.
For now though, I’m sticking with the paper + powder method. Next step – get some proper wood blocks for the real thing, and learn how to carve!
